





Cement Silo Cleaning and Maintenance: What Prevents Build-Up?
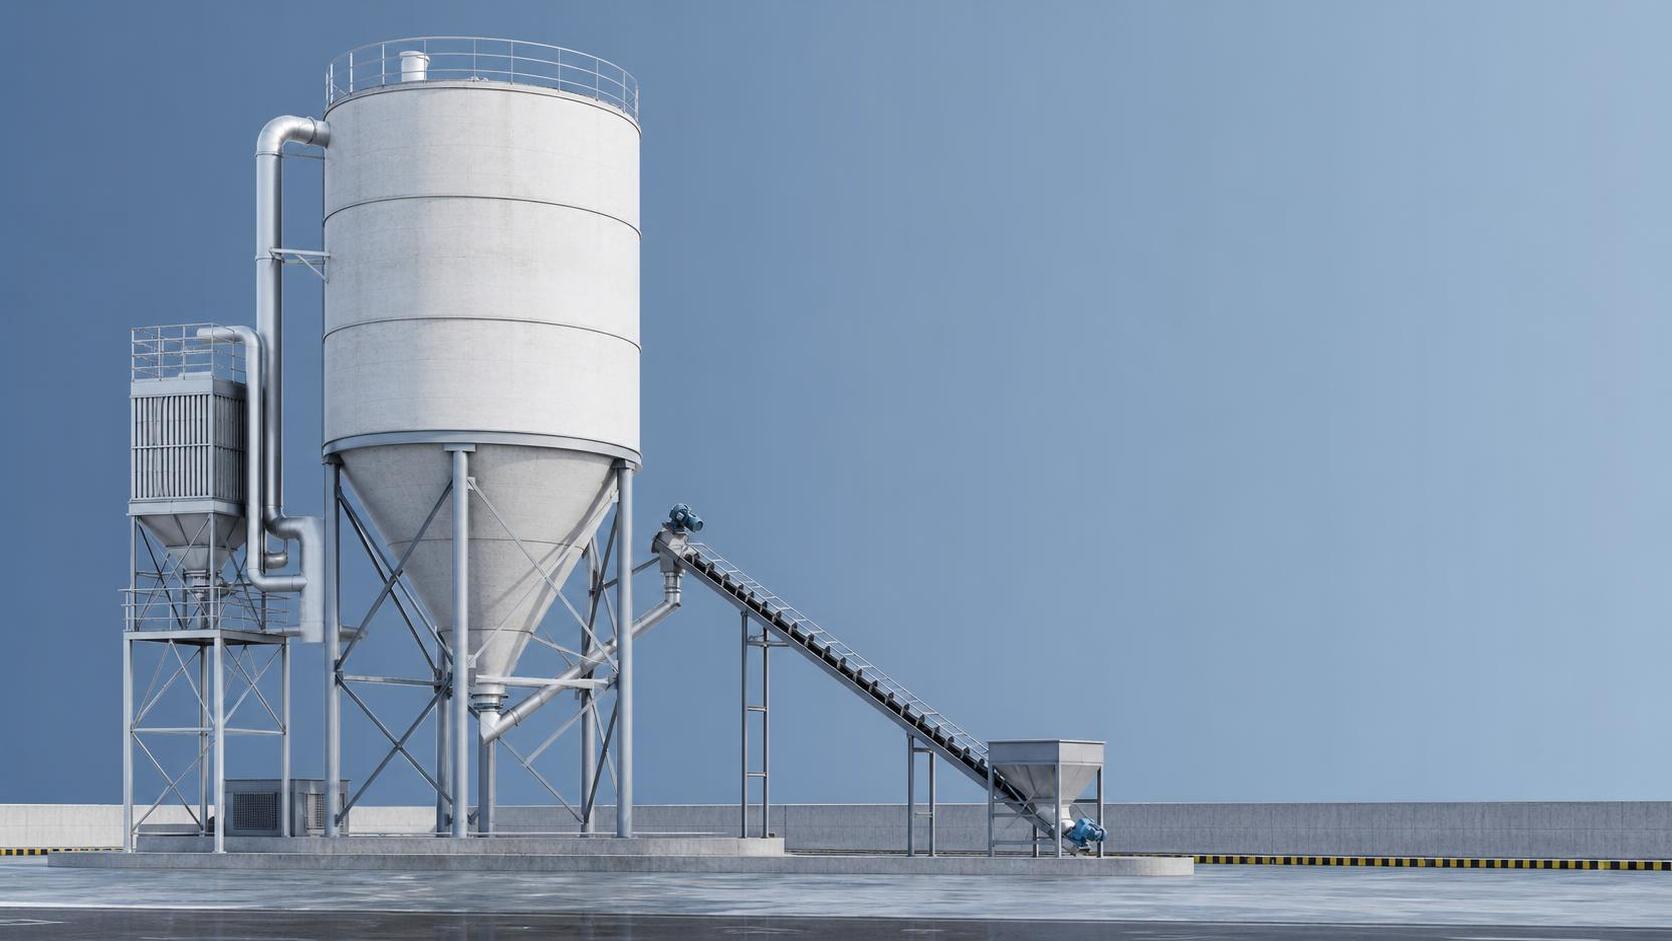
Cement Silo Cleaning and Maintenance: What Prevents Build-Up?
Keeping a cement silo clean is essential for safe operation, smooth material flow, and lower maintenance costs.
When build-up starts inside a cement silo, it rarely happens for only one reason.
Moisture, poor discharge conditions, material segregation, and inconsistent inspection habits usually work together.
That also means prevention is possible when daily operation and maintenance stay consistent.
This article explains what causes cement silo accumulation and what practical steps reduce blockages and unplanned shutdowns.
Why build-up forms inside a cement silo
A cement silo handles powder that looks stable from the outside, but behaves differently under changing site conditions.
Fine cement particles absorb moisture easily. Once damp spots appear, material begins sticking to internal walls.
Over time, these layers harden. Fresh powder then catches on rough surfaces, making the deposit thicker.
The first warning sign is often reduced flow, not a visible blockage.
If the discharge rate becomes uneven, the cement silo may already have bridging or wall adhesion inside.
In real operating environments, build-up usually develops faster during weather changes, long idle periods, or irregular filling practices.
The most common causes
- Moisture entering through damaged seals, vents, or poorly protected loading connections.
- Condensation caused by temperature swings between day and night.
- Airflow problems from clogged filters or weak aeration systems.
- Long storage times that let powder compact under its own weight.
- Incomplete discharge cycles that leave residue at the cone or outlet.
- Poor internal surface condition, including corrosion or uneven weld areas.
How moisture becomes the main trigger
Moisture is the most consistent reason a cement silo develops stubborn internal deposits.
Even small amounts can change free-flowing cement into sticky clusters.
Once clumps form, the aeration system must work harder, and the chance of arching increases.
A cement silo located outdoors faces more risk from rain intrusion, humid air, and condensation inside upper sections.
This becomes more noticeable after a quiet weekend or an extended production stop.
Prevention starts with the simplest checks. Inspect the roof, pressure relief devices, filter housings, hatch covers, and inlet joints.
If any point allows damp air inside, the cement silo may begin accumulating material long before discharge problems appear.
Moisture control measures that work
- Replace worn seals and gaskets before rainy or high-humidity periods.
- Keep filter systems clean so internal pressure stays stable during filling.
- Drain compressed air lines and check for water carryover.
- Avoid leaving small residual quantities inside a cement silo for long periods.
- Schedule extra inspections after storms, cold nights, or abrupt temperature shifts.
Flow design and discharge behavior matter more than expected
Not every build-up problem comes from material quality.
In many cases, the discharge pattern inside the cement silo is the real issue.
If cement moves through a narrow central channel, old material remains on the walls and compacts over time.
That leftover layer becomes the base for future deposits.
Cone angle, outlet diameter, air pad performance, and screw conveyor matching all affect whether a cement silo empties cleanly.
A system can still run while gradually storing trouble inside.
This is one reason many operators now prefer equipment sized to real jobsite demand.
For temporary or flexible operations, Mobile Small Cement Tanks for Construction Site can help reduce long storage cycles and simplify material turnover.
Signs of poor discharge efficiency
- Material level appears to drop slowly despite normal discharge commands.
- The outlet pulses between free flow and partial blockage.
- Aeration must run longer than usual to maintain output.
- The system empties unevenly after each refill cycle.
Practical cleaning methods for a cement silo
Cleaning should begin before heavy deposits turn into hardened masses.
A preventive routine costs less than emergency shutdown cleaning.
The right method depends on deposit thickness, silo size, internal access conditions, and plant safety rules.
For light accumulation, routine air system checks and controlled discharge cycles may clear the problem.
For thicker deposits, manual or mechanical cleaning may be necessary during planned downtime.
Any cement silo cleaning plan should start with isolation, ventilation, dust control, and permit procedures.
A practical cleaning sequence
- Empty as much material as possible through normal discharge.
- Lock out connected systems and confirm zero-energy status.
- Inspect filters, air pads, valves, and outlet components first.
- Check internal wall conditions and identify where deposits are concentrated.
- Remove loose material before tackling hardened build-up.
- Repair damaged surfaces or sealing points before restarting the cement silo.
Cleaning without fixing the root cause only resets the clock for the next blockage.
Maintenance habits that reduce future accumulation
A reliable cement silo stays cleaner when maintenance follows a routine rather than reacting to problems.
Short inspections done regularly often reveal issues before they become expensive repairs.
This is especially important in building materials, power, chemical, and grain-related operations where bulk storage reliability affects the full process line.
Manufacturers with strong silo engineering experience usually stress the same point: consistent upkeep protects both flow performance and structural service life.
Weekly and monthly maintenance checklist
- Inspect the cement silo roof, access covers, and vent sealing points.
- Clean or replace dust filter elements as required.
- Check aeration pads, air slides, and compressed air quality.
- Review discharge time trends for signs of hidden build-up.
- Monitor vibration, valve response, and screw conveyor loading.
- Inspect interior surfaces during planned shutdown windows.
- Record recurring trouble spots and compare them across seasons.
A written record helps teams spot patterns that would otherwise look like isolated incidents.
When equipment selection helps prevent build-up
Sometimes the best maintenance decision happens before operation begins.
If a cement silo is oversized for actual consumption, material may sit too long and compact.
If it is undersized, refill frequency can create unstable loading and pressure conditions.
The better approach is matching silo capacity, discharge design, and site rhythm from the start.
For mobile projects or space-limited sites, Mobile Small Cement Tanks for Construction Site may offer a more practical storage cycle and easier maintenance access.
That choice can reduce stale inventory, shorten residence time, and lower the chance of cement silo build-up.
What keeps a cement silo working smoothly
A clean cement silo is usually the result of several small decisions done well, every time.
Control moisture, maintain airflow, improve discharge behavior, and inspect problem areas before they harden into major deposits.
When cleaning and maintenance are tied to real operating data, the cement silo becomes easier to manage and more reliable under daily production pressure.
The practical path is simple: monitor early signs, correct root causes, and keep maintenance intervals disciplined.
That is what prevents build-up, protects equipment life, and keeps material moving when the job cannot afford delays.
Related Posts
- ▶ How a Dry Bulk Silo Handles Pneumatic Filling and Gravity Discharge
- ▶ What Is a Dry Bulk Silo, and When Does a Factory Need One?
- ▶ Can dry bulk storage silos be integrated into existing PLC-controlled batching systems?
- ▶ Do dry bulk silos designed for API 650 compliance meet ASME Section VIII requirements?
- ▶ Is almacénamiento de sólidos a granel en silos de acero inoxidable viable for small-scale agrochemical distributors?
- ▶ How do vibration-based level sensors perform in stainless steel silos with powder coating?
Online Message