





Bulk Material Storage Silos: Inspection Points for Wear, Bridging, and Dust
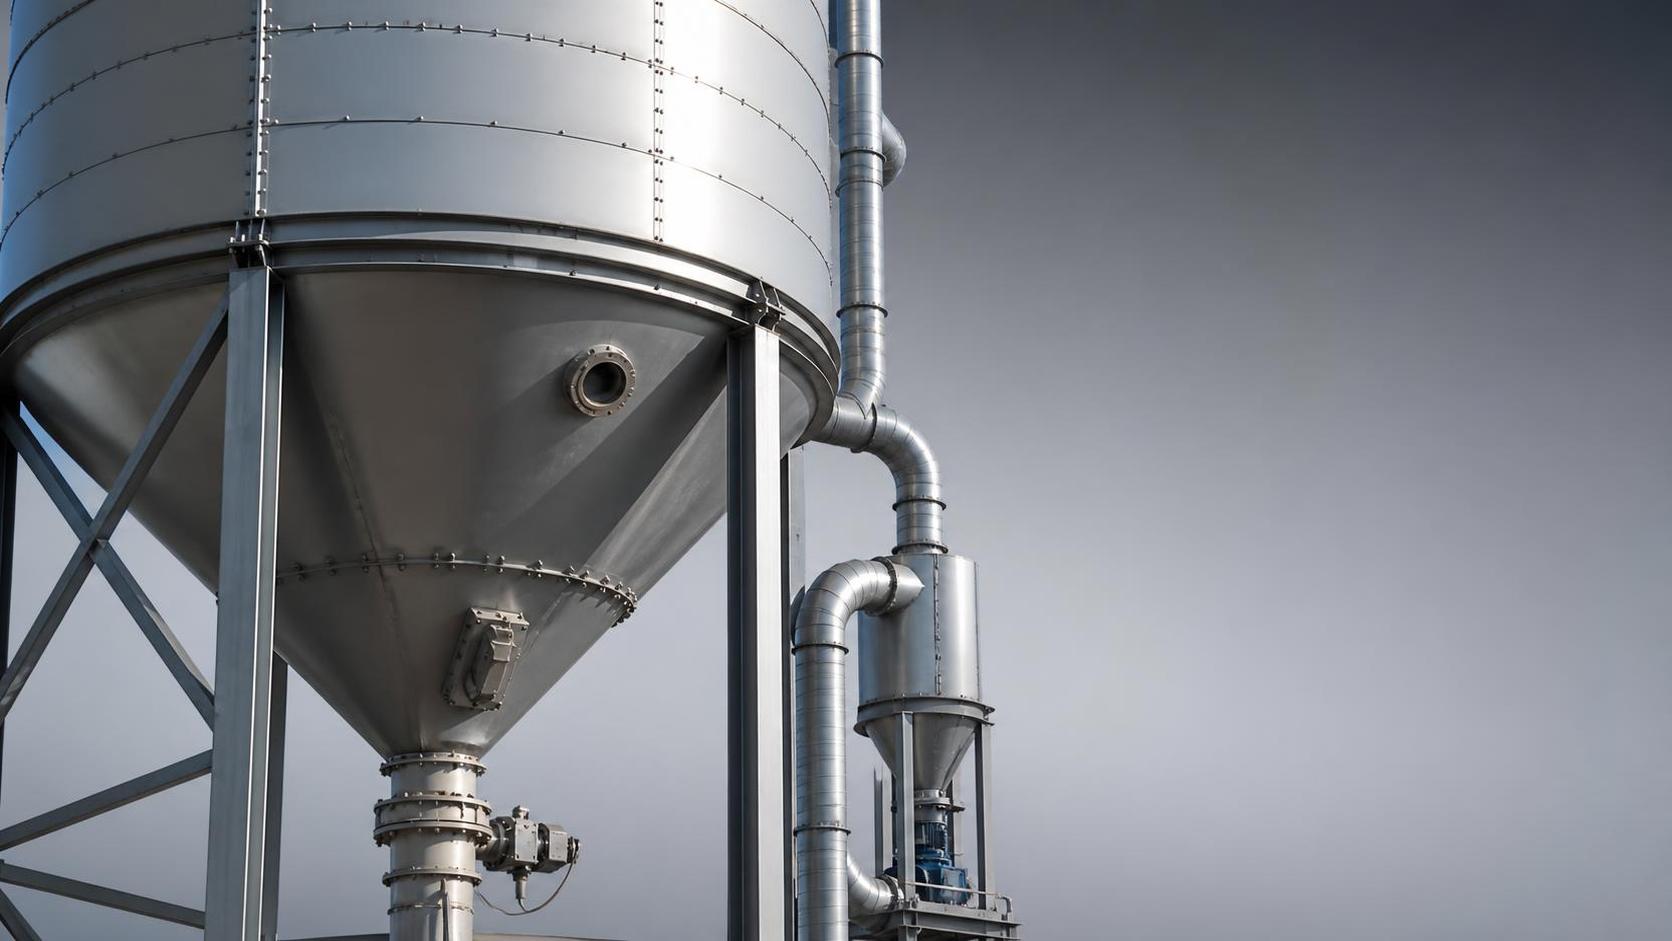
In many plants, the trouble with bulk material storage silos does not start with a major breakdown. It starts with small signs that are easy to ignore: a discharge that feels slower than usual, a thin layer of dust around joints, or a faint change in sound when material moves through the cone. By the time those signs become obvious, the silo may already be dealing with internal wear, uneven flow, or a buildup pattern that interrupts production.
That is why regular inspection matters. A silo can look stable from the outside while problems are developing inside the wall, around the outlet, or in the venting path. If you are responsible for routine maintenance, the goal is not to “inspect everything” in a vague way. It is to know exactly where wear begins, how bridging usually shows up, and which dust-related details can quietly create bigger issues later.
Start with the places that wear first
The most common wear points are not always the most visible ones. In bulk material storage silos, material impact usually concentrates near the inlet, on the upper cone, around transitions, and at discharge zones where flow is repeated every cycle. Look for thinning metal, surface scuffing, uneven coating loss, and areas where bolts, seams, or liners show early fatigue.
Pay special attention to the discharge area if the stored material is abrasive. Even when the silo body appears clean, the inside surfaces near the outlet may be carrying a different story. A change in flow angle, a small dent, or a worn liner edge can shift how material moves and create localized stress. That is often where inspection pays off first.
If the silo is paired with batching or feeding equipment, the connection area should also be checked for wear marks caused by vibration or repeated loading. A product such as Vertical Bulk Cement Silos for Batching Plant is often used in systems where discharge consistency matters, so the outlet zone and the interface with downstream equipment deserve careful attention.
What to look for during a close visual review
- Scratches, grooves, or polished paths that indicate repeated abrasive contact
- Loose fasteners, cracked seal lines, or displaced liners
- Rust, coating lift, or discoloration around joints and welds
- Material residue that keeps returning to the same internal area after cleaning
These signs do not automatically mean a failure is near, but they do tell you where to slow down and inspect more closely.
When material stops flowing, bridging is often involved
Bridging happens when material forms an arch above the outlet and refuses to move down freely. It is one of the most frustrating issues because the silo may contain enough material, yet discharge still stalls. Operators often notice this only when the feeder runs empty, the level indicator seems inconsistent, or the same section has to be disturbed repeatedly.
The first thing to check is the outlet geometry and the condition of the hopper walls. Material with high moisture, irregular particle size, or poor flow characteristics can cling to surfaces and build a stable bridge. Corners, rough patches, and damaged lining make the problem worse. If the silo has not been inspected for a while, the bridge may be supported by wear or buildup that is not obvious from outside.
Another common trigger is uneven fill. If material is dropped in a way that favors one side, the load pattern becomes inconsistent. That can create dead zones where old material stays in place and compacted layers form. Over time, those layers contribute to blockage.
A practical way to narrow down the cause
Ask three simple questions: Is the material condition different from usual? Is the outlet surface clean and smooth enough? Has the loading pattern changed? If the answer to any of these is yes, bridging becomes more likely. This kind of reasoning is more useful than repeatedly forcing discharge, which may only create a temporary opening and leave the root cause untouched.
Inspection teams sometimes mistake bridging for a feeder problem. The feeder may be working, but if the material above it is not moving, the real issue sits higher in the silo. That is why looking only at the bottom end is not enough.
Dust is not just housekeeping
Dust around a silo can be a sign of leakage, poor sealing, airflow imbalance, or buildup inside vent paths. In some environments, it becomes a maintenance problem before it becomes a safety concern. A light dust ring around inspection doors, flanges, or vents often points to a joint that is no longer closing as expected.
Vent filters and dust collection points should be checked for blockage or uneven loading. If air cannot escape properly during filling or emptying, the pressure behavior inside the silo changes. That can affect material movement, increase wear near the inlet, and encourage more dust escape at weak points.
It is also worth looking at whether dust is settling in places where it should not. Accumulation on ledges, brackets, and ladder supports can indicate airflow paths that need attention. Inside the silo, buildup on the roof or upper walls may suggest condensation, poor material flow, or repeated minor leakage during transfer.
A simple inspection flow that keeps the work practical
Begin with the outside: inspect seals, vents, doors, supports, and any visible dust trails. Then move to the interior access points and review the wall condition from top to bottom, with extra focus on impact zones and the outlet cone. After that, observe how material discharges. A silo can look acceptable when empty and still behave badly under load, so flow behavior is part of the inspection, not something separate from it.
It helps to keep the process consistent. Use the same route each time, note the same locations, and compare what changes from one inspection to the next. That makes small shifts easier to catch. If one area keeps showing wear, do not treat it as a one-off issue. It may be telling you that the material path, inlet direction, or surface condition needs adjustment.
For silos used across grain, building materials, power, and chemical applications, the inspection logic stays similar even when the stored product changes. What changes is the dominant risk: abrasion in one case, moisture in another, or dust control in a third. The point is to read the silo according to how it behaves in service, not just how it looks on paper.
When repair is not enough
Some problems keep returning because the underlying design or operating pattern has not changed. If wear appears in the same spot after cleaning or patching, if bridging happens despite normal feed settings, or if dust keeps escaping from the same joint, it may be time to look beyond routine maintenance. That could mean adjusting the discharge arrangement, improving the liner choice, revisiting the loading path, or selecting a different silo configuration for the material in use.
At that stage, a practical review of the whole storage setup is more useful than isolated fixes. The aim is to reduce repeat work, keep flow steady, and make sure the silo is still suited to the material it handles day after day.
Bulk material storage silos perform well when wear, bridging, and dust are treated as early signals, not late surprises. A careful inspection routine does not need to be complicated. It just needs to focus on the areas where material movement, sealing, and airflow are most likely to change first.
Related Posts
- ▶ How a Dry Bulk Silo Handles Pneumatic Filling and Gravity Discharge
- ▶ What Is a Dry Bulk Silo, and When Does a Factory Need One?
- ▶ Can dry bulk storage silos be integrated into existing PLC-controlled batching systems?
- ▶ Do dry bulk silos designed for API 650 compliance meet ASME Section VIII requirements?
- ▶ Is almacénamiento de sólidos a granel en silos de acero inoxidable viable for small-scale agrochemical distributors?
- ▶ How do vibration-based level sensors perform in stainless steel silos with powder coating?
Online Message